ReadKidz
ReadKidz
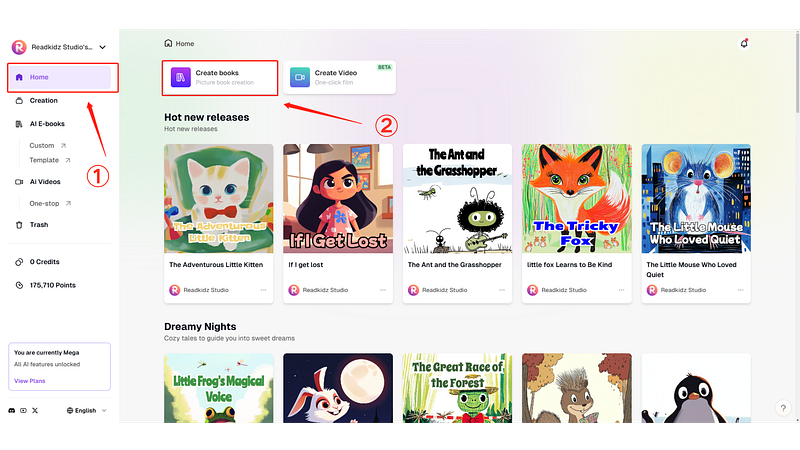
ReadKidz secondary creation template entry example picture
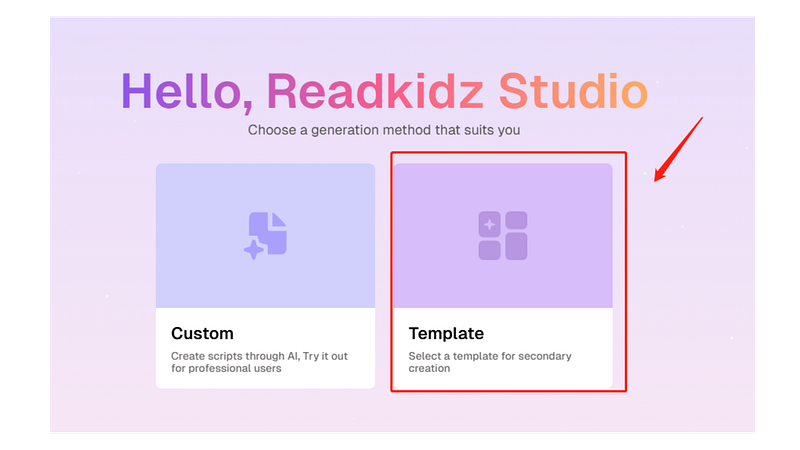
ReadKidz secondary creation template entry example picture

ReadKidz secondary creation template entry example picture
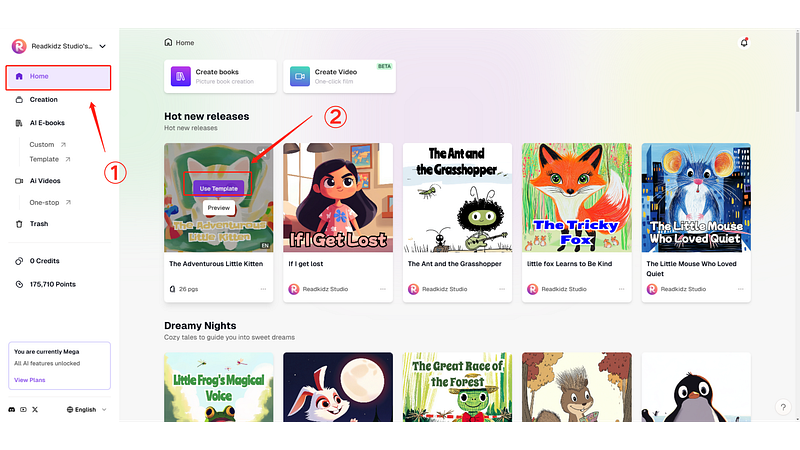
ReadKidz secondary creation template entry example picture
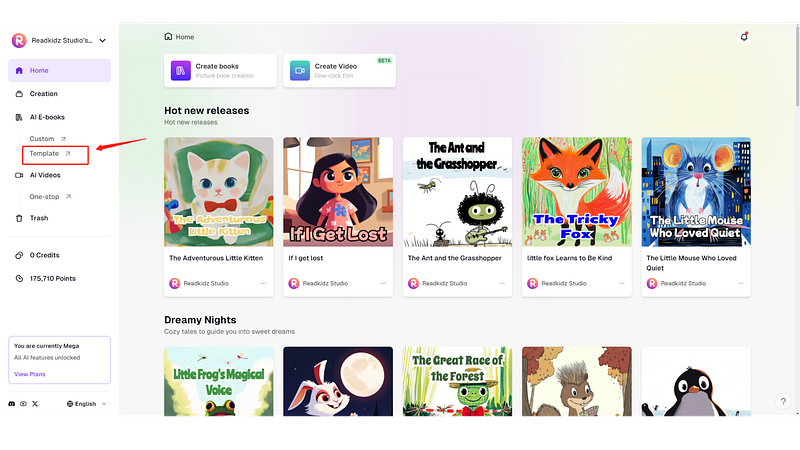
ReadKidz secondary creation template entry example picture
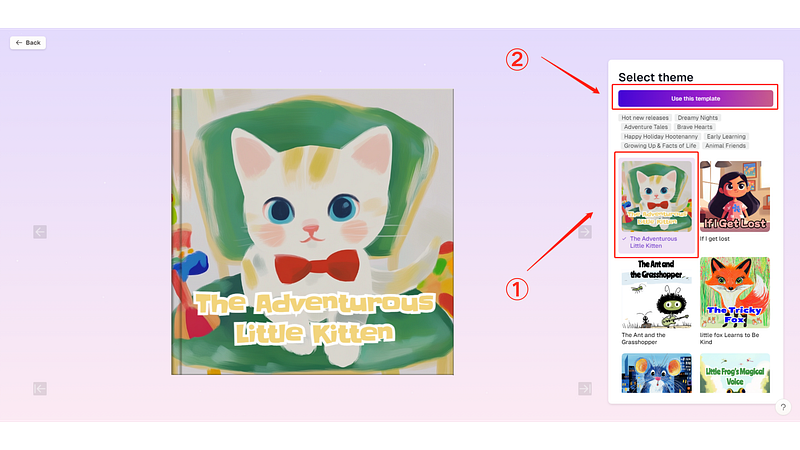
ReadKidz secondary creation template entry example picture
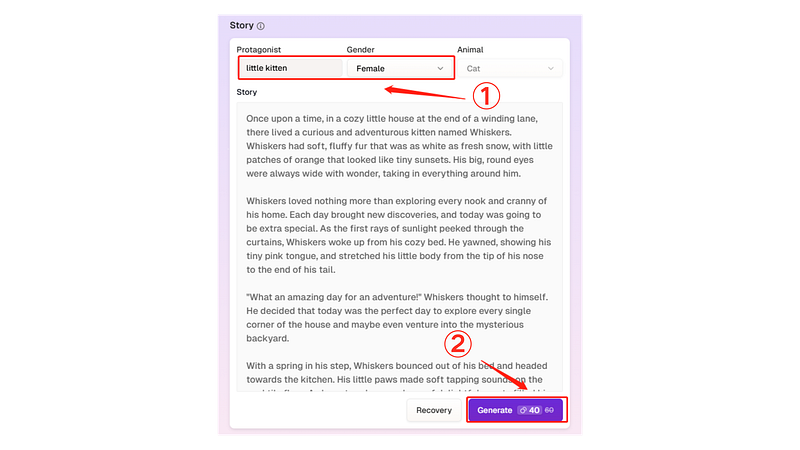
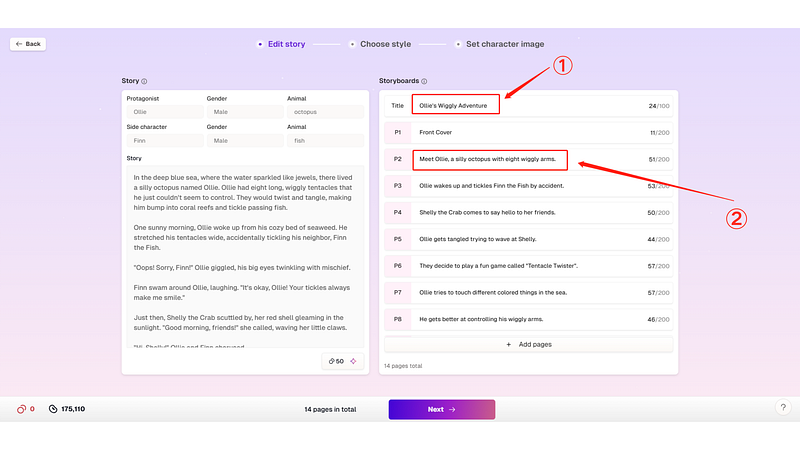
ReadKidz copy writing example
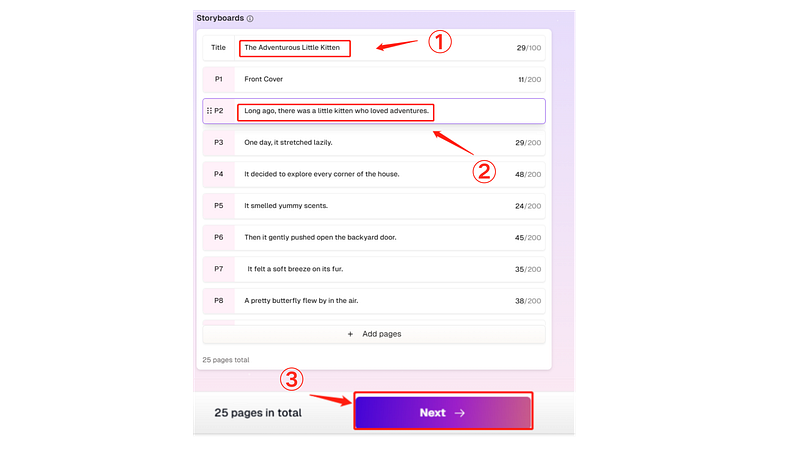
ReadKidz copy writing example

ReadKidz style selection example
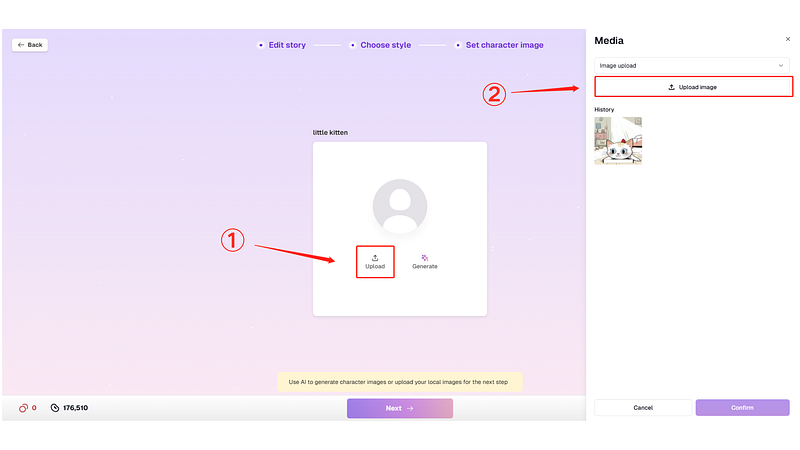
ReadKidz character settings upload image example
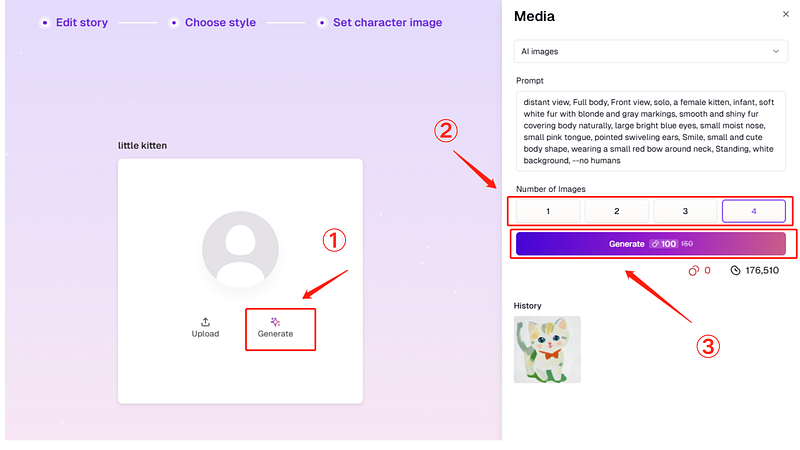
ReadKidz character setting AI rendering example
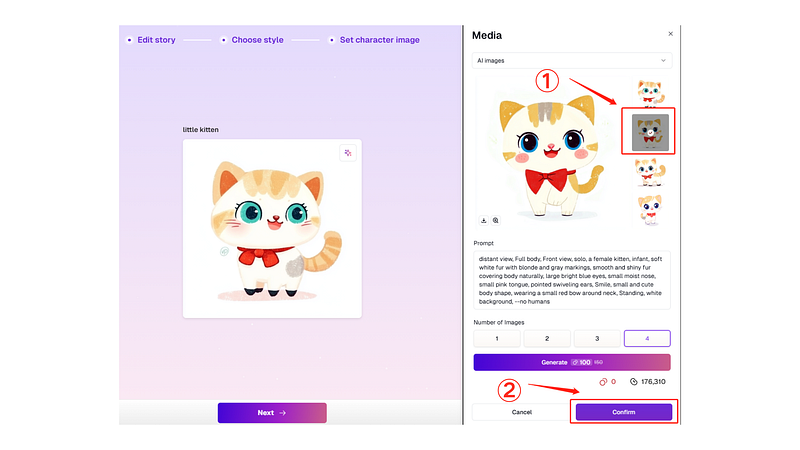
ReadKidz character setting AI rendering example
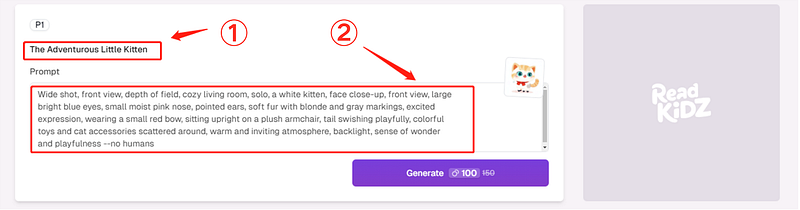
ReadKidz AI prompt word verification and modification example
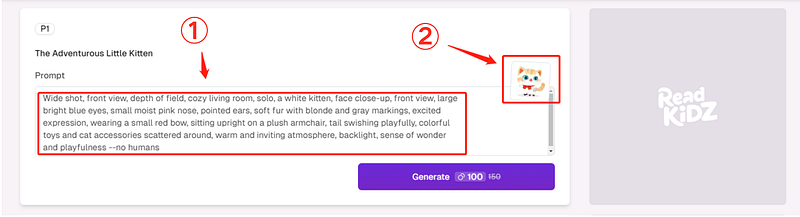
ReadKidz AI prompt word verification and modification example
ReadKidz AI prompt word verification and modification example
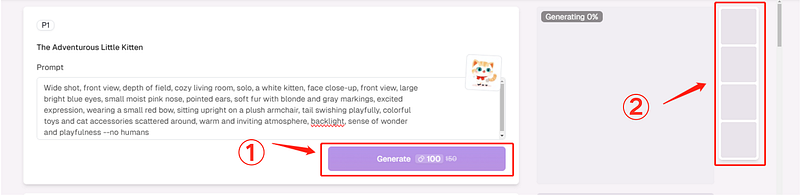
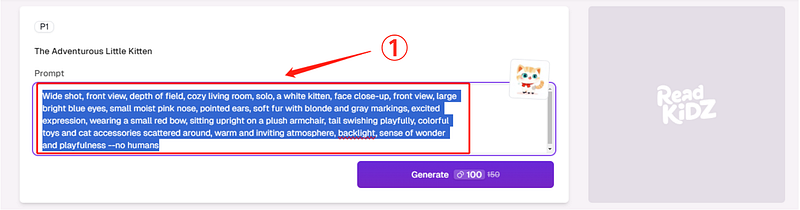
ReadKidz AI rendering example
ReadKidz AI rendering example
ReadKidz AI rendering example
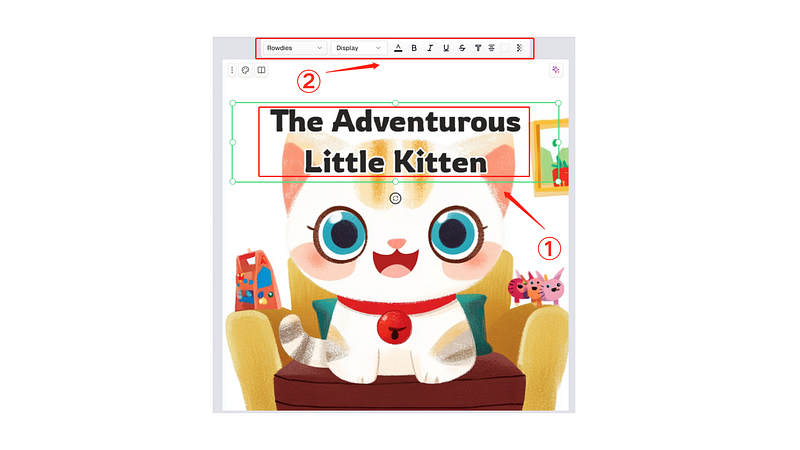
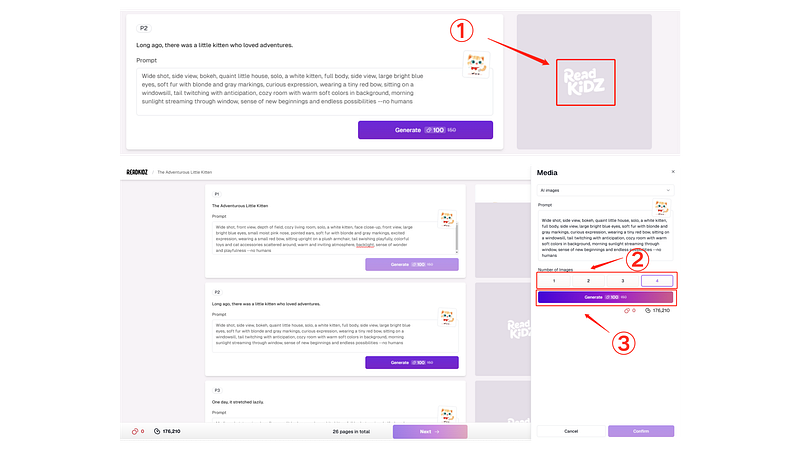
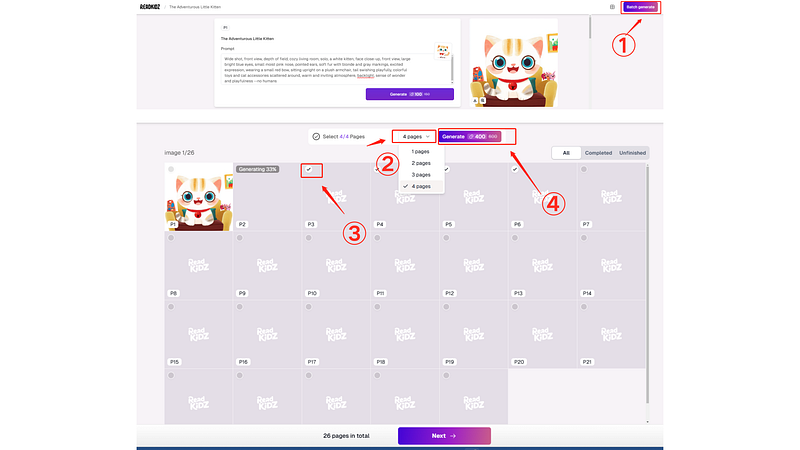
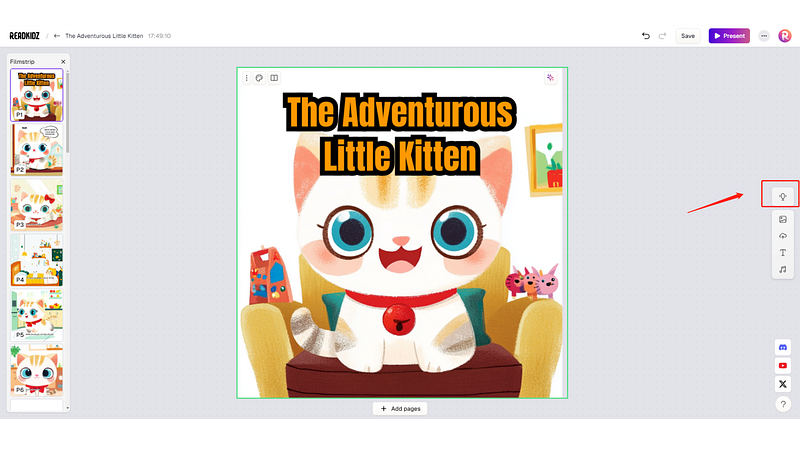
ReadKidz picture book layout design text adjustment example picture
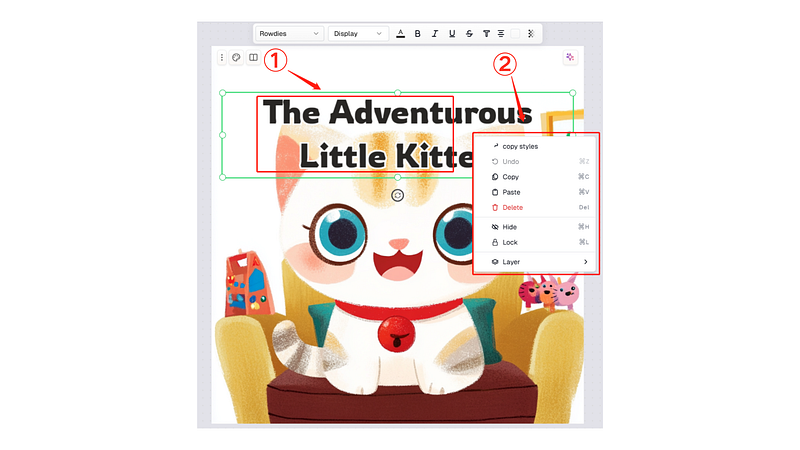
ReadKidz picture book layout design text adjustment example picture
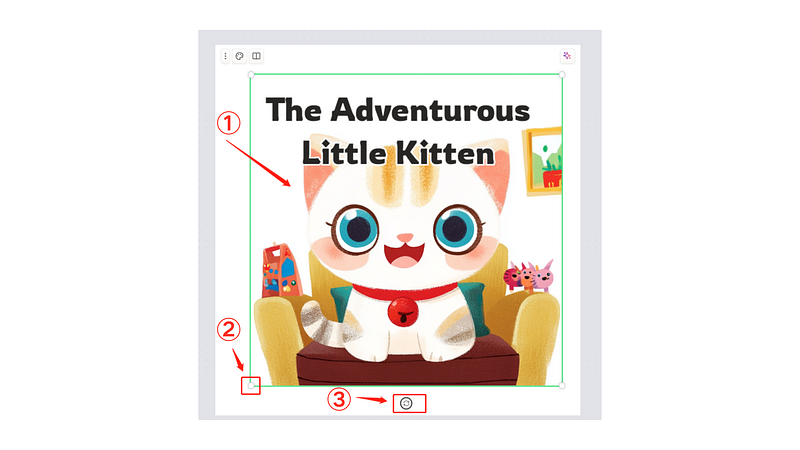
ReadKidz picture book layout design picture adjustment example picture
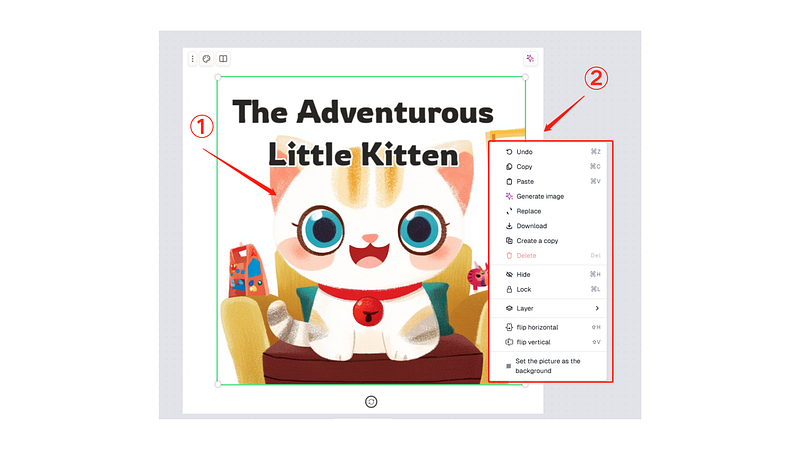
ReadKidz picture book layout design picture adjustment example picture
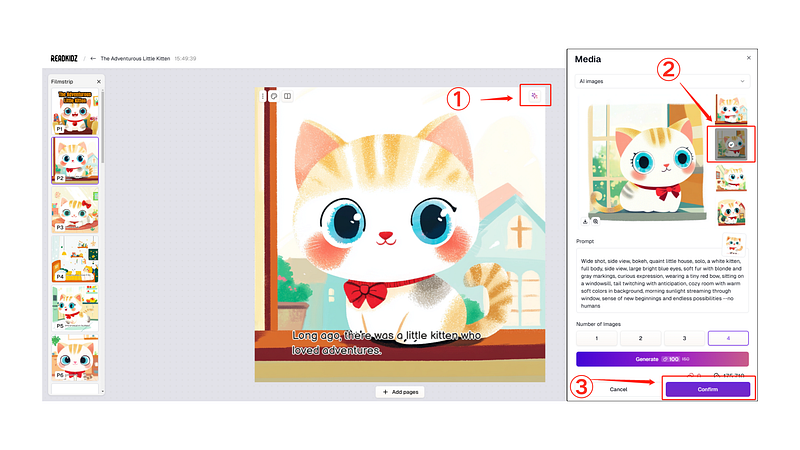
ReadKidz picture book layout design picture adjustment example picture
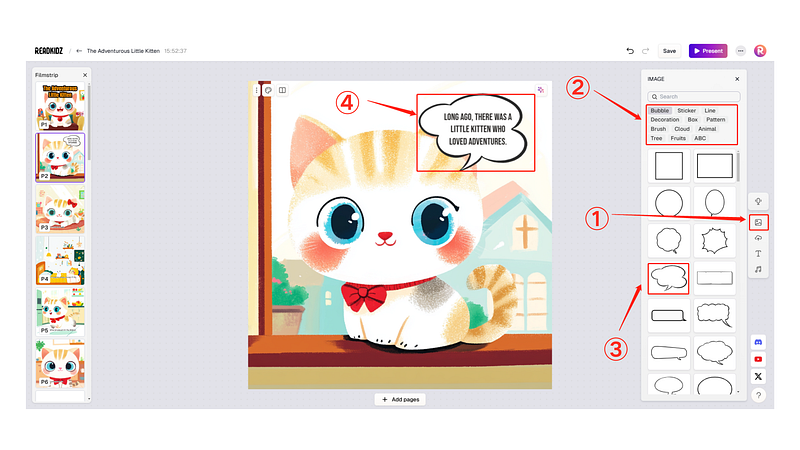
ReadKidz picture book layout design material library example picture
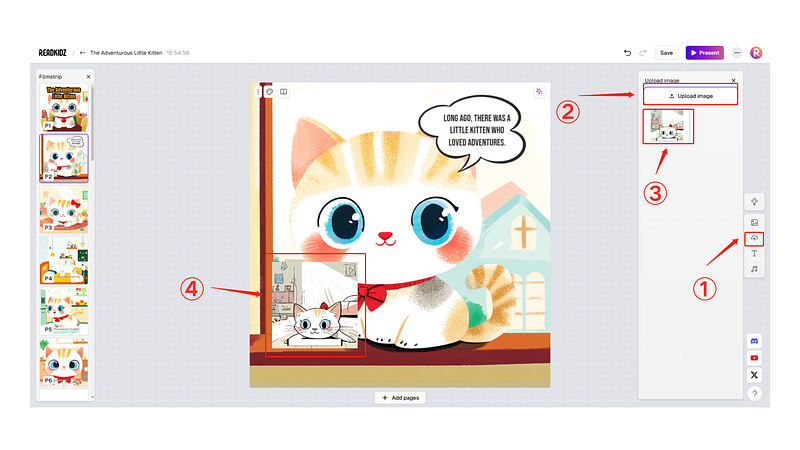
ReadKidz picture book layout design upload image example
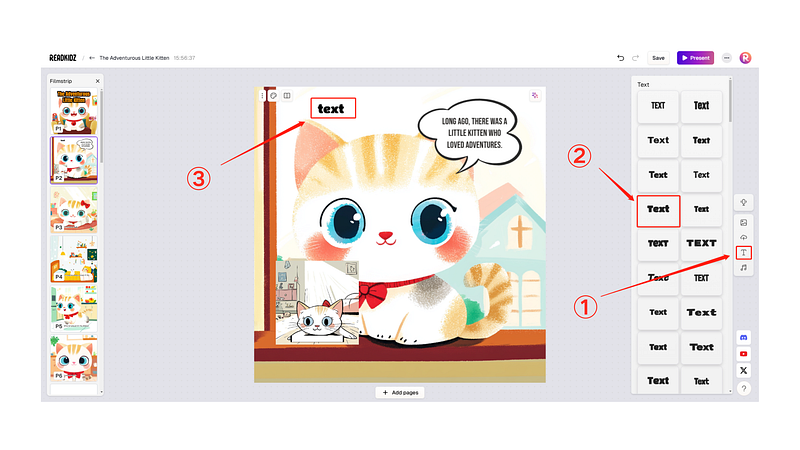
ReadKidz picture book layout design text adding example picture
ReadKidz picture book layout design AI dubbing usage example picture
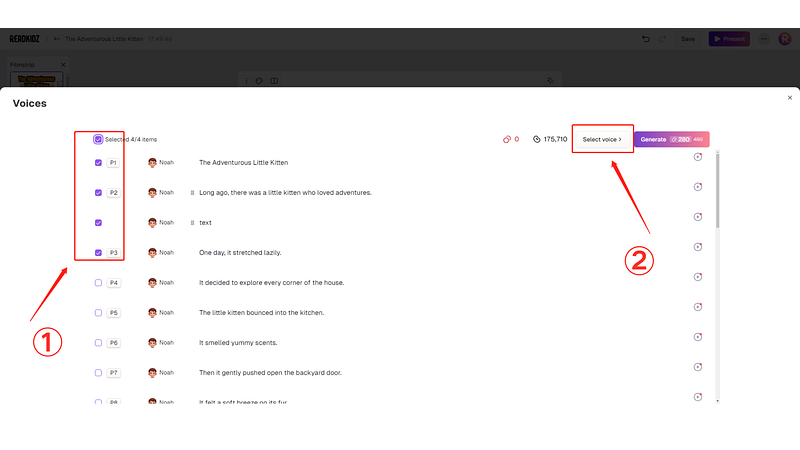
Readkidz picture book layout design AI dubbing usage example picture

Readkidz picture book layout design AI dubbing usage example picture
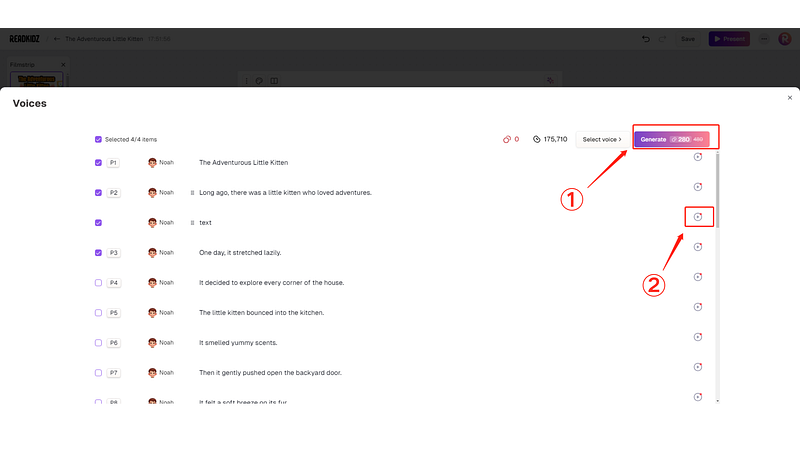
ReadKidz picture book layout design AI dubbing usage example picture
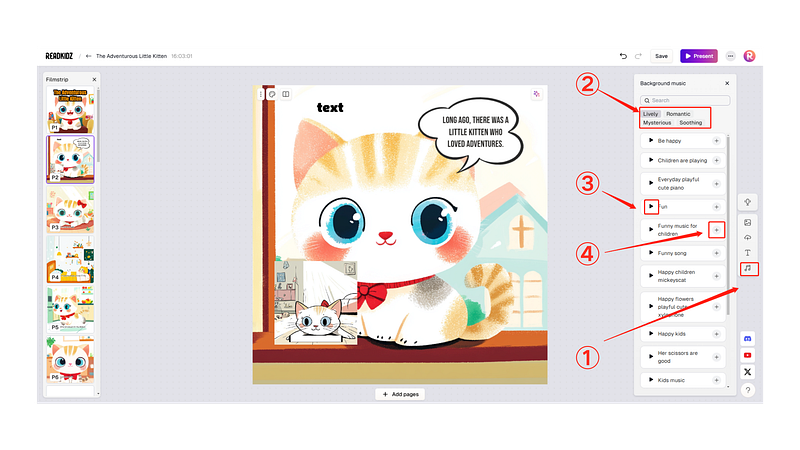
ReadKidz picture book layout design background music usage example picture
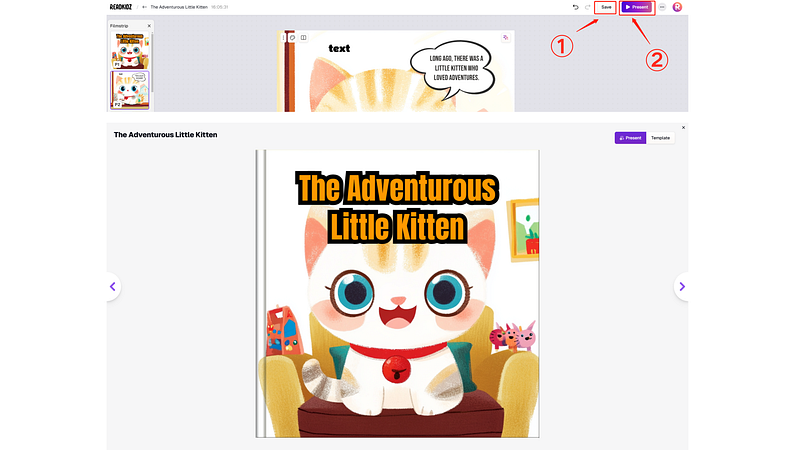
Readkidz save preview example image
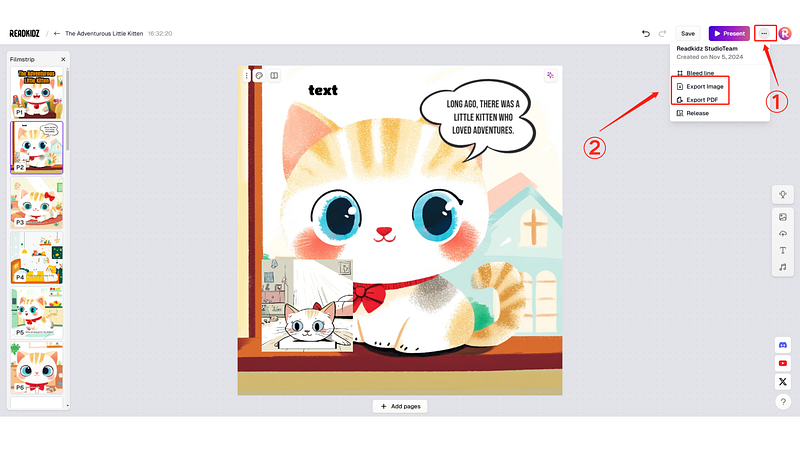
Readkidz AI picture book story picture download example
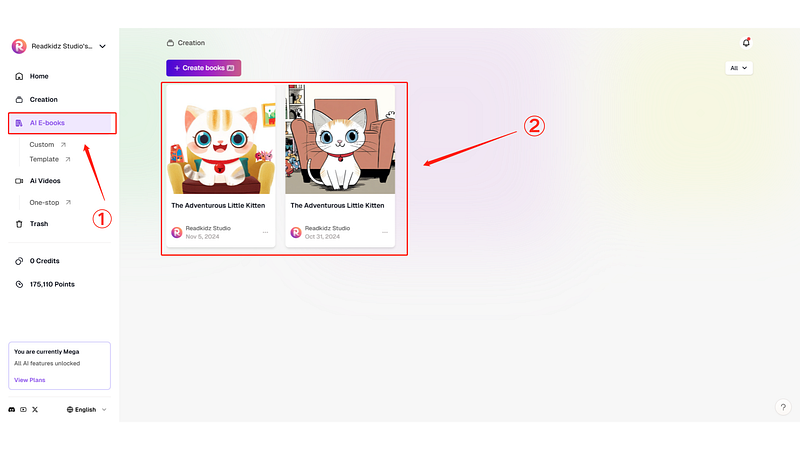
Readkidz AI picture book history example
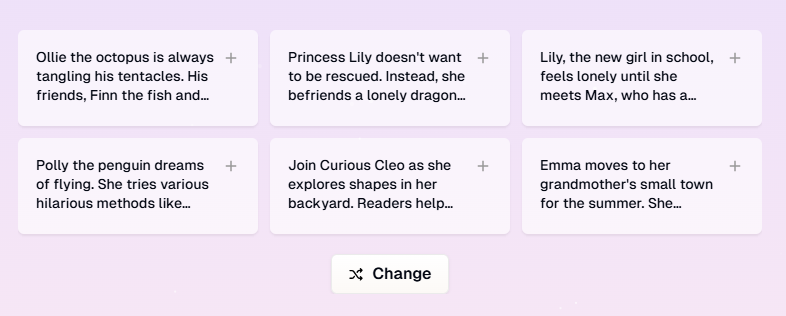
ReadKidz AI picture book story generation example
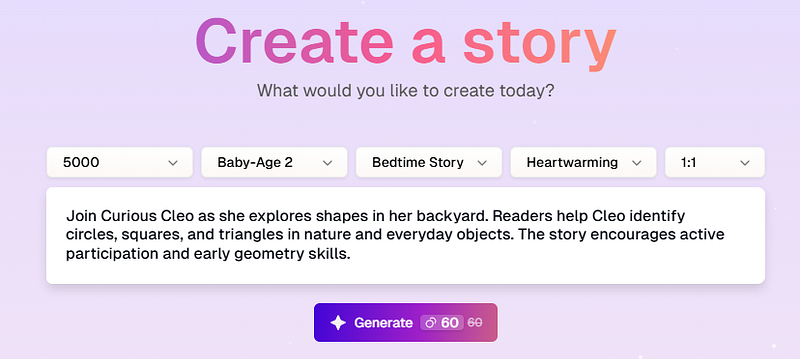
ReadKidz AI picture book story generation example

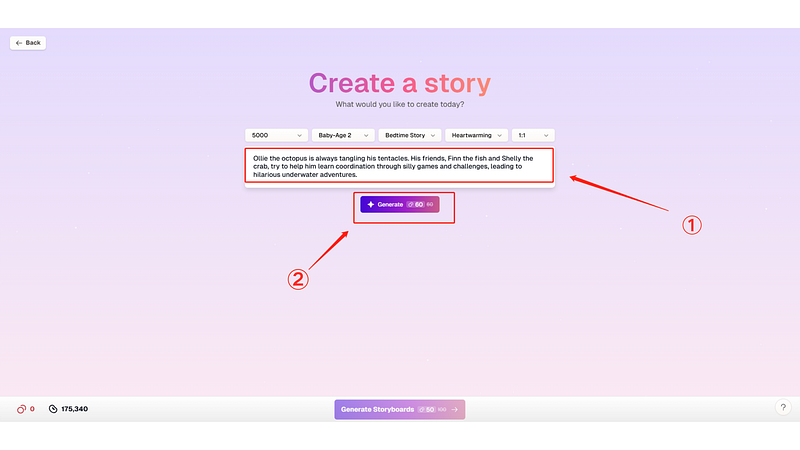
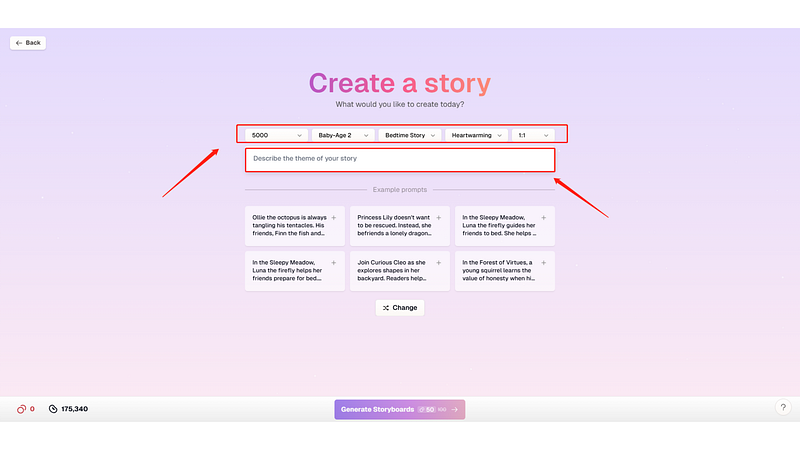
ReadKidz AI custom picture book creation entry example
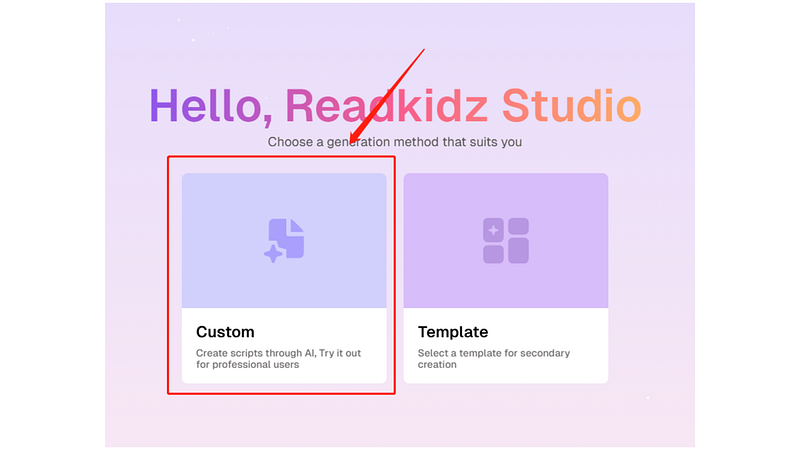
ReadKidz AI custom picture book creation entry example
ReadKidz AI custom picture book creation entry example
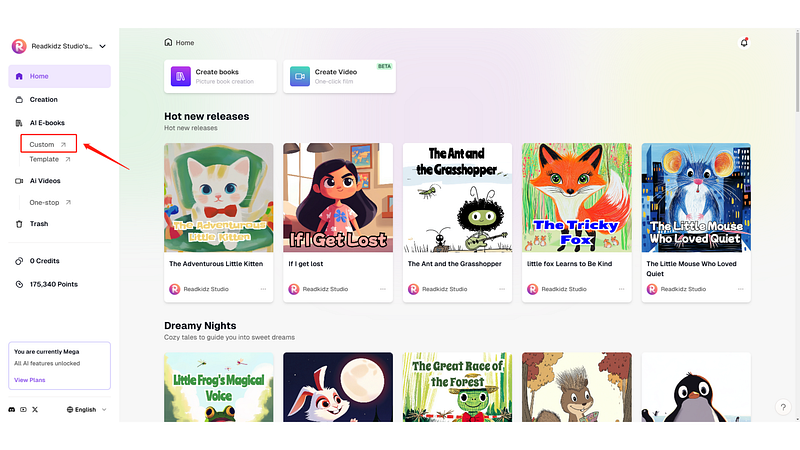
ReadKidz AI custom illustrated text example
ReadKidz AI custom illustrated text example
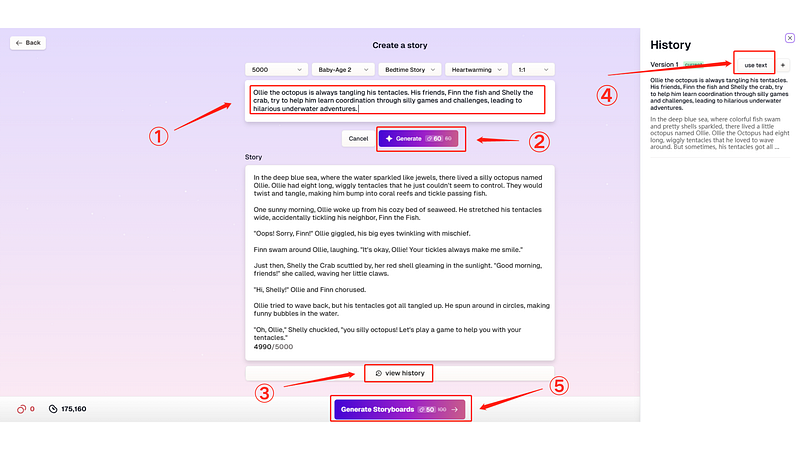
ReadKidz AI custom illustrated text example
ReadKidz AI custom illustrated text example
ReadKidz AI custom illustrated text example
ReadKidz AI custom illustrated text example
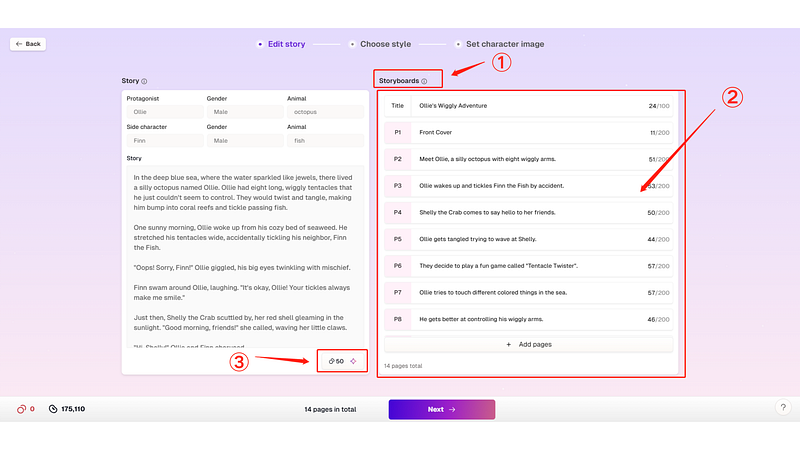
ReadKidz AI custom illustrated text example
ReadKidz AI custom illustrated text example
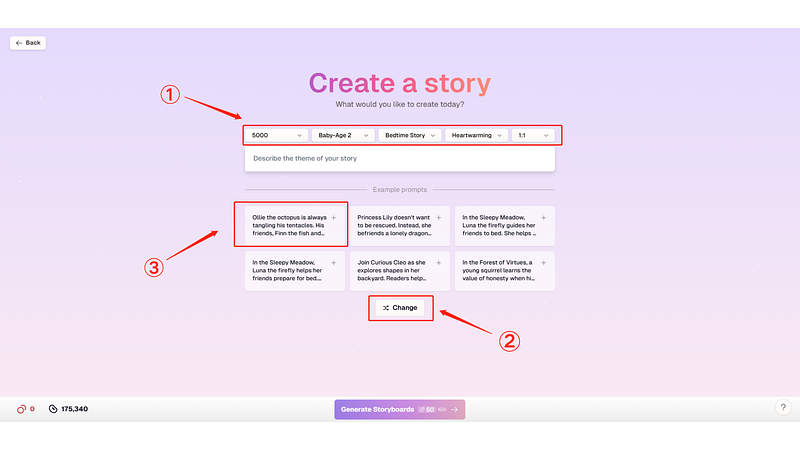
ReadKidz style selection example
ReadKidz character settings upload image example
ReadKidz character setting AI rendering example
ReadKidz character setting AI rendering example
ReadKidz AI prompt word verification and modification example
ReadKidz AI prompt word verification and modification example
ReadKidz AI prompt word verification and modification example
ReadKidz AI rendering example
ReadKidz AI rendering example
ReadKidz AI rendering example
ReadKidz picture book layout design text adjustment example picture
ReadKidz picture book layout design text adjustment example picture
ReadKidz picture book layout design picture adjustment example picture
ReadKidz picture book layout design picture adjustment example picture
ReadKidz picture book layout design picture adjustment example picture
ReadKidz picture book layout design material library example picture
ReadKidz picture book layout design upload image example
ReadKidz picture book layout design text adding example picture
ReadKidz picture book layout design AI dubbing usage example picture
ReadKidz picture book layout design AI dubbing usage example picture
ReadKidz picture book layout design AI dubbing usage example picture
ReadKidz picture book layout design AI dubbing usage example picture
ReadKidz picture book layout design background music usage example picture
ReadKidz save preview example image
ReadKidz AI picture book story picture download example
ReadKidz AI picture book history example